
Gluten-Free Easy Scones
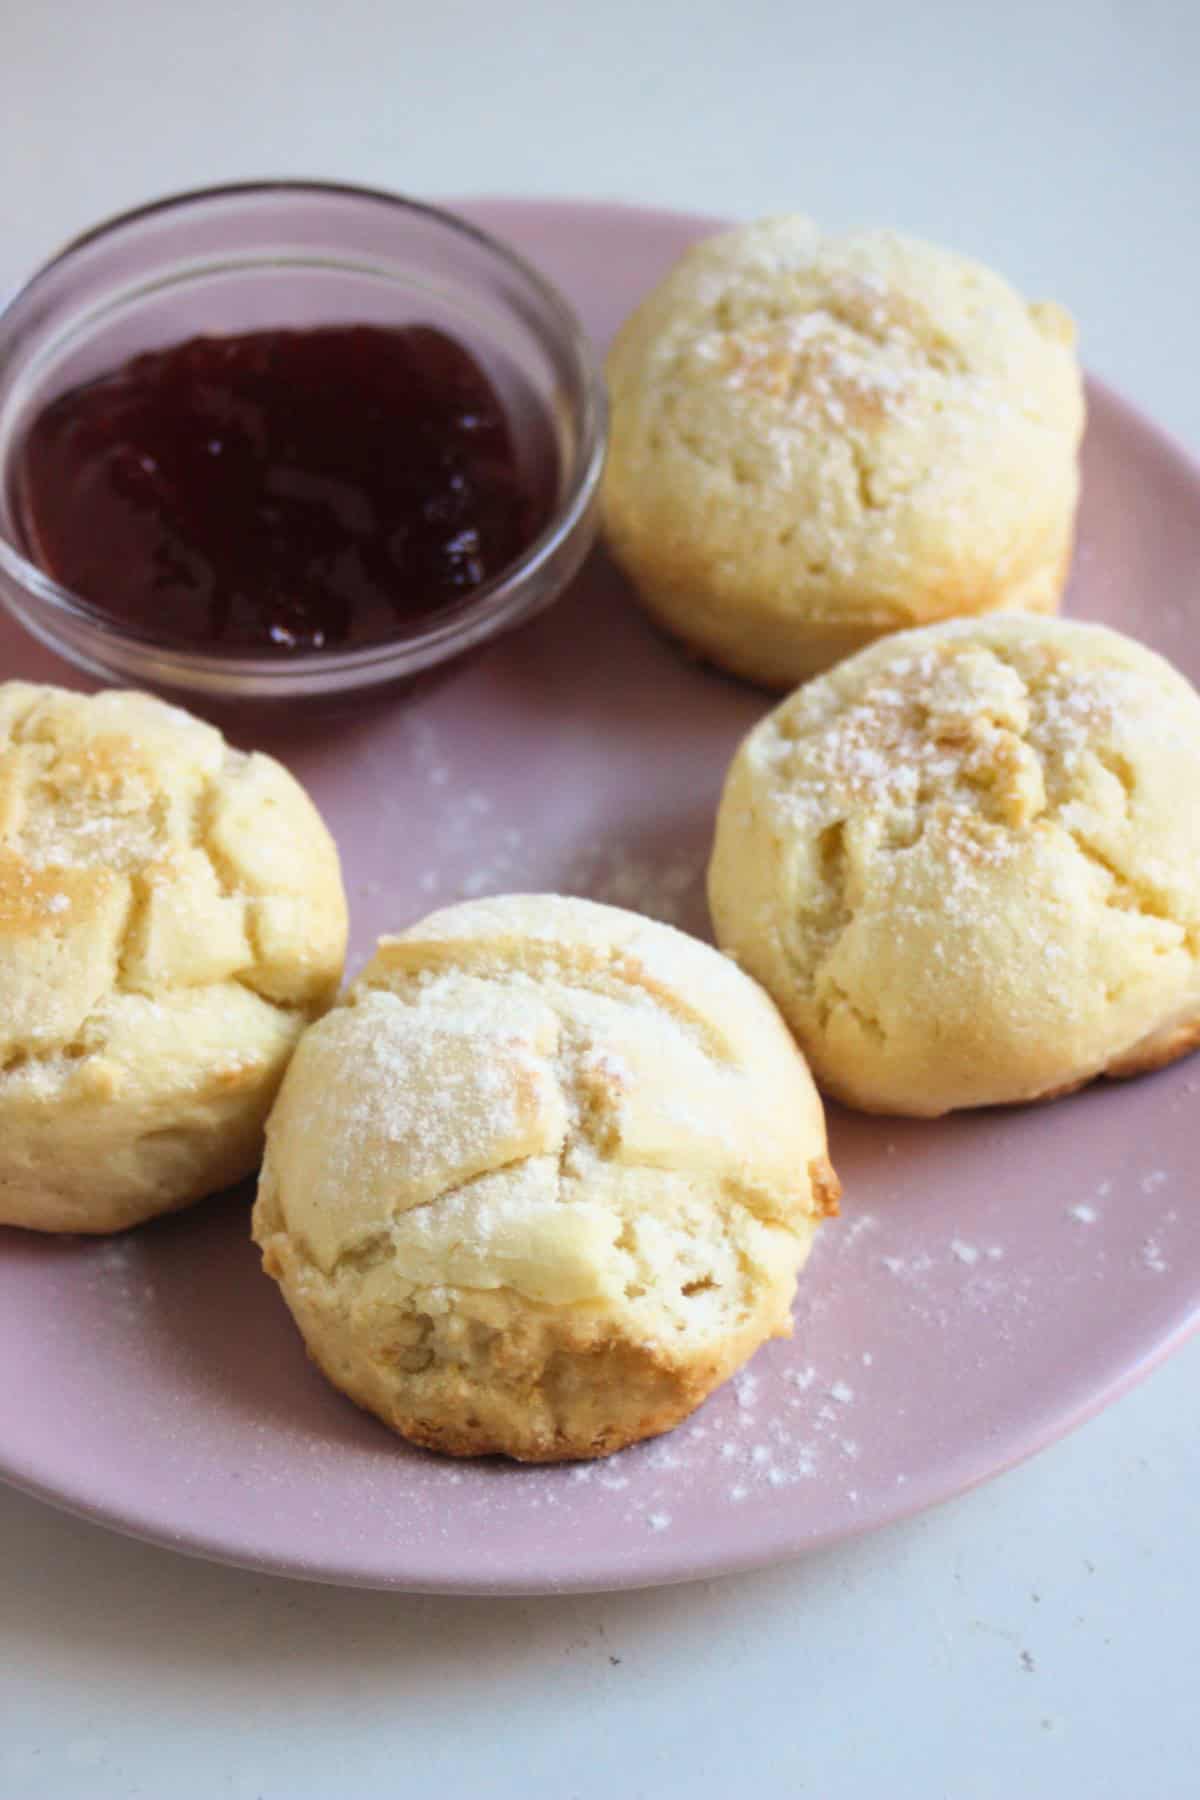
These gluten-free scones are tender and buttery with a soft, delicate crumb and lightly golden edges. They’re easy to make with simple ingredients and can be baked right away or frozen for later.
Jump to Recipe
Gluten-free biscuits
These Gluten-Free Scones are buttery, tender, and perfectly flaky, with golden edges and a soft, delicate crumb. They have a classic British-style texture and are deeply satisfying without being heavy.
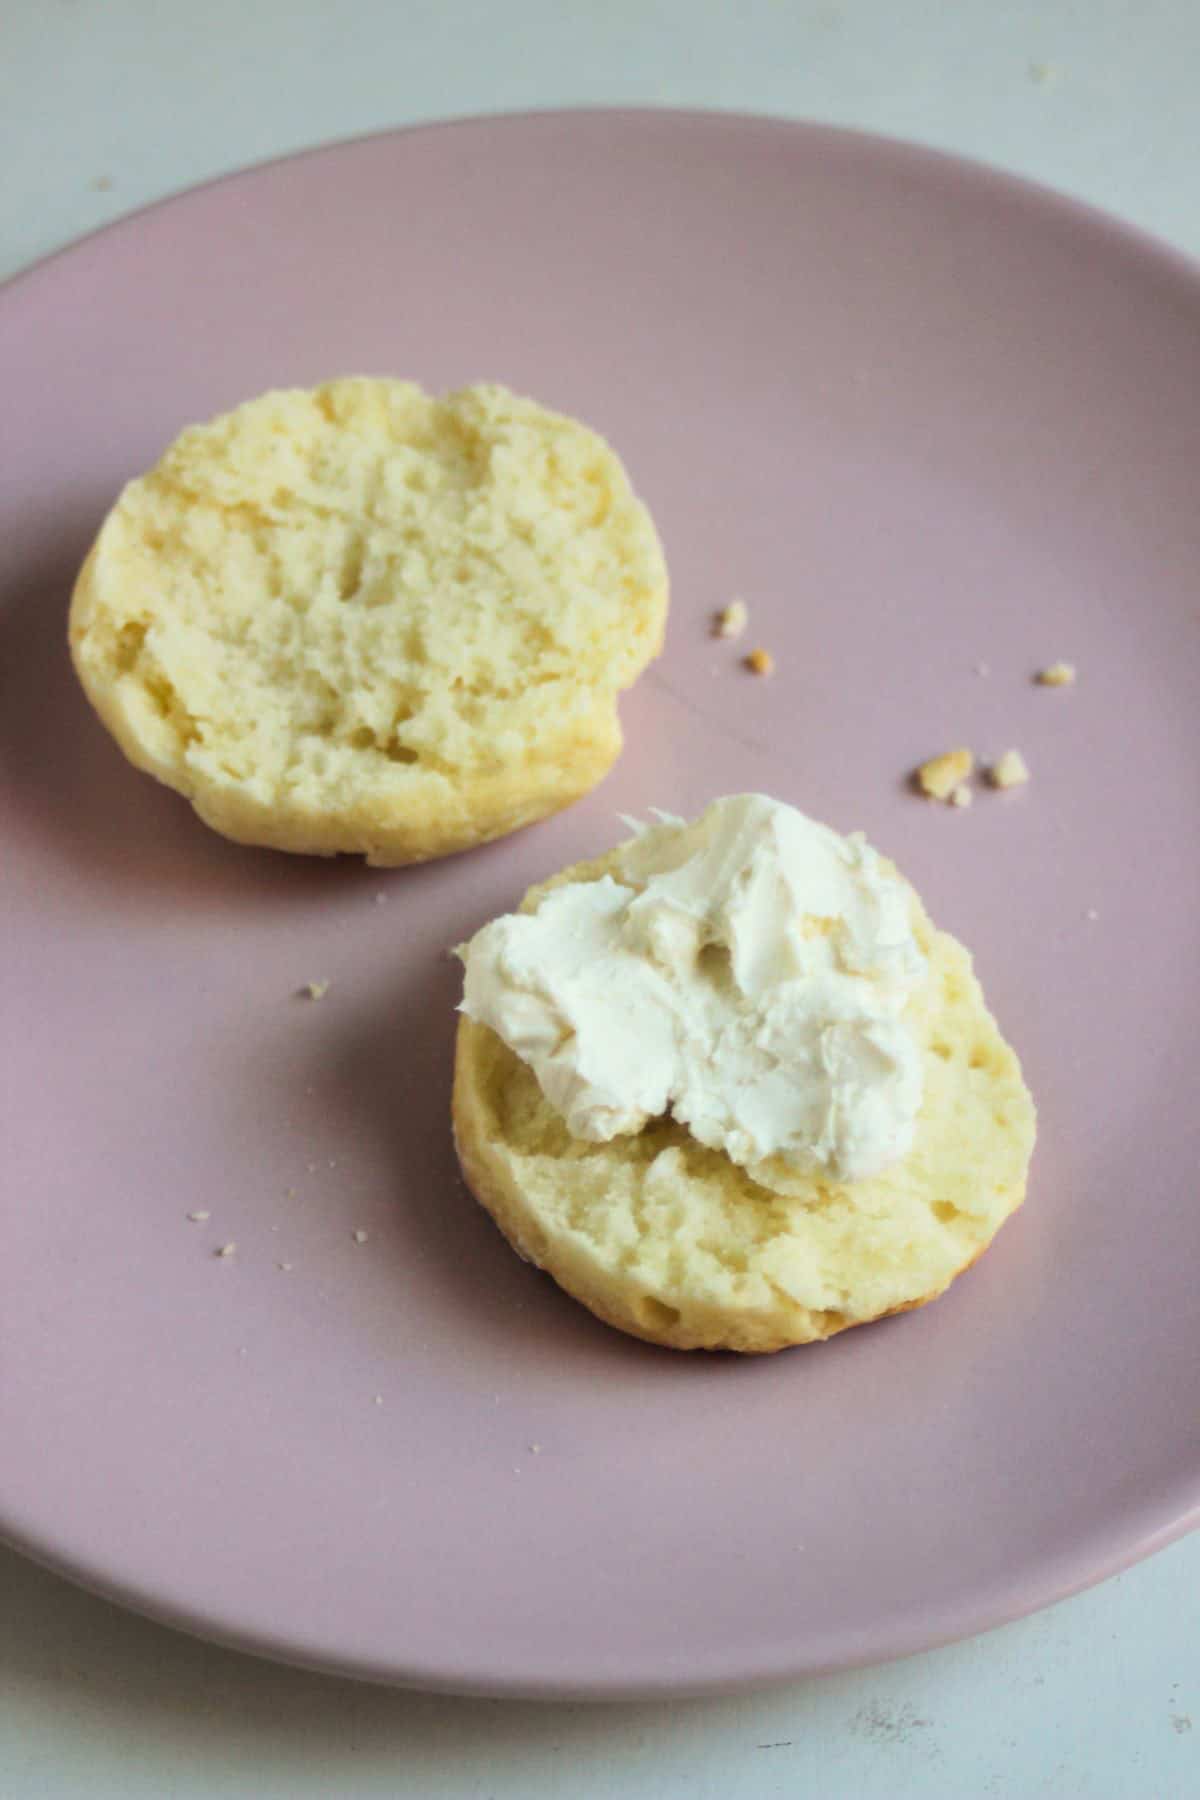
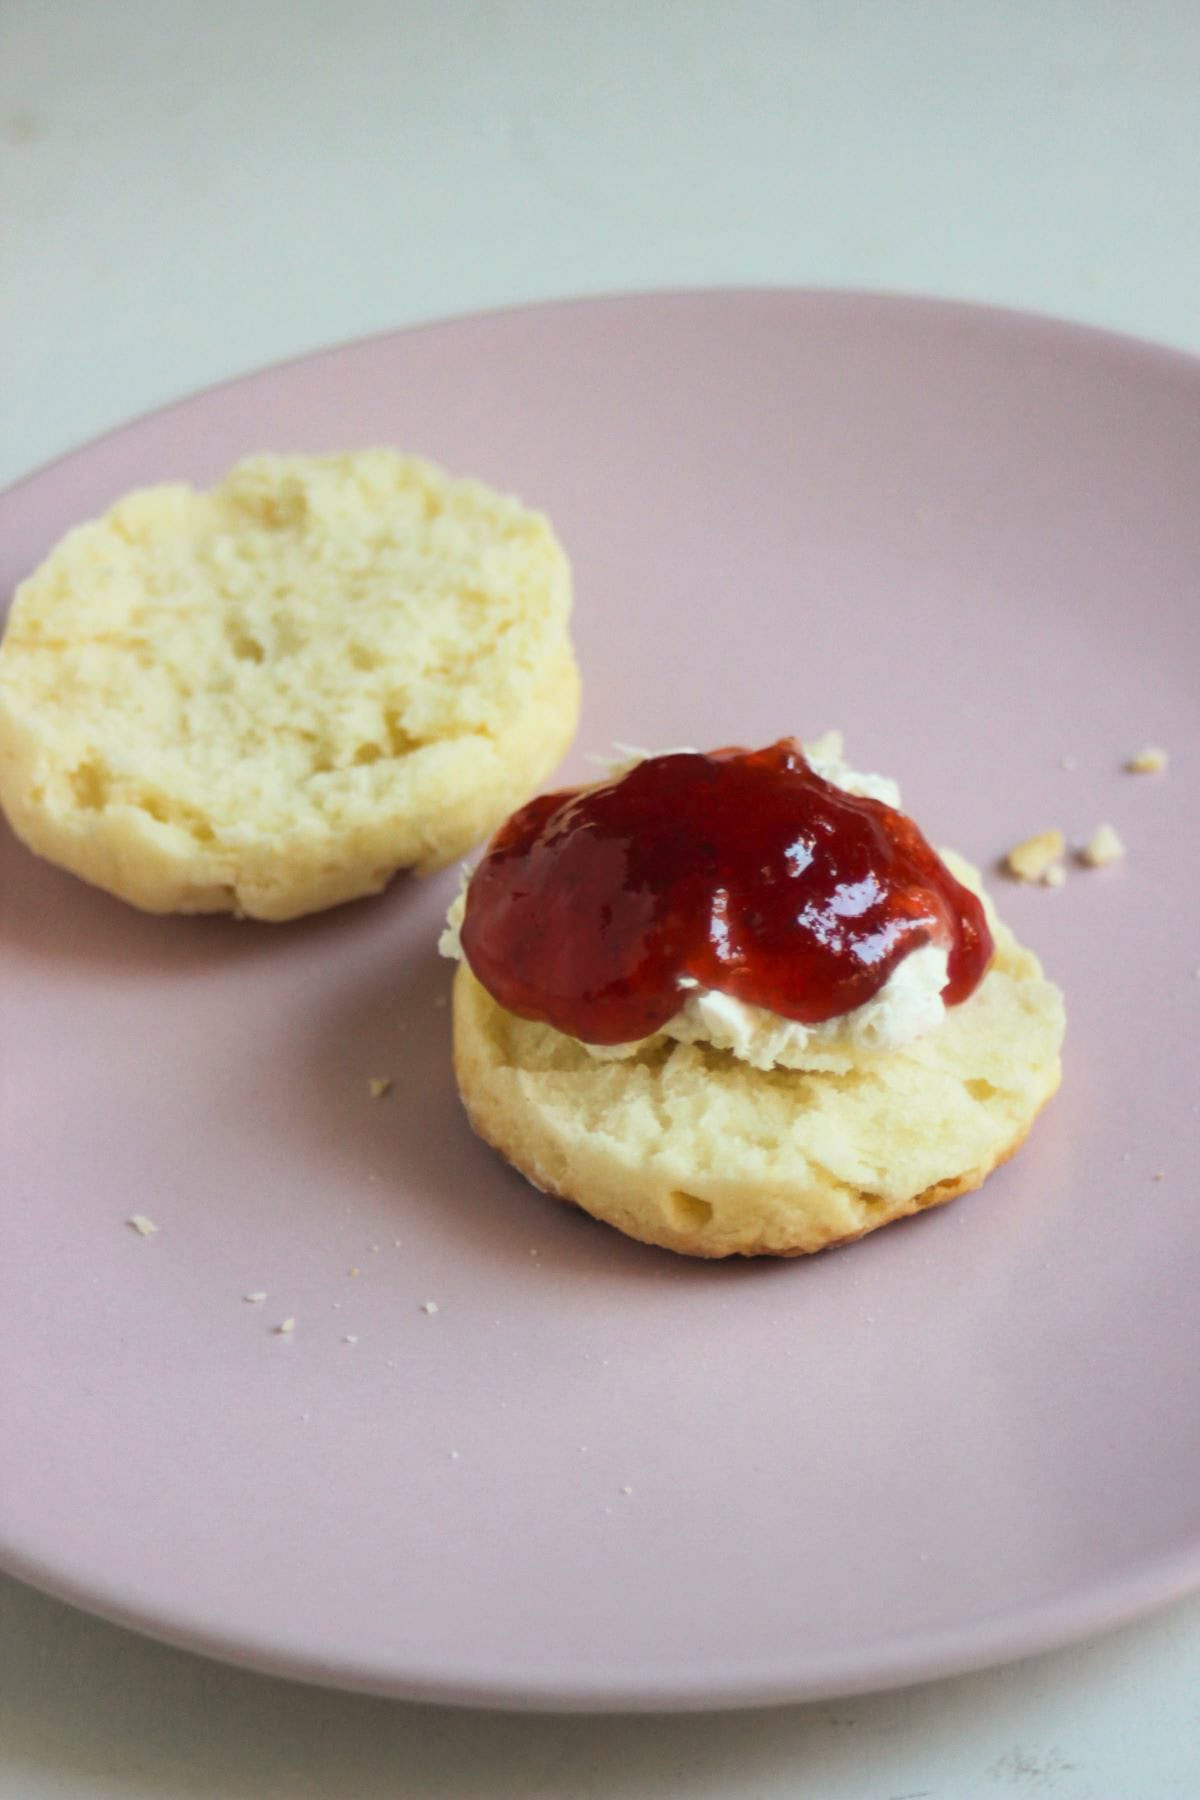
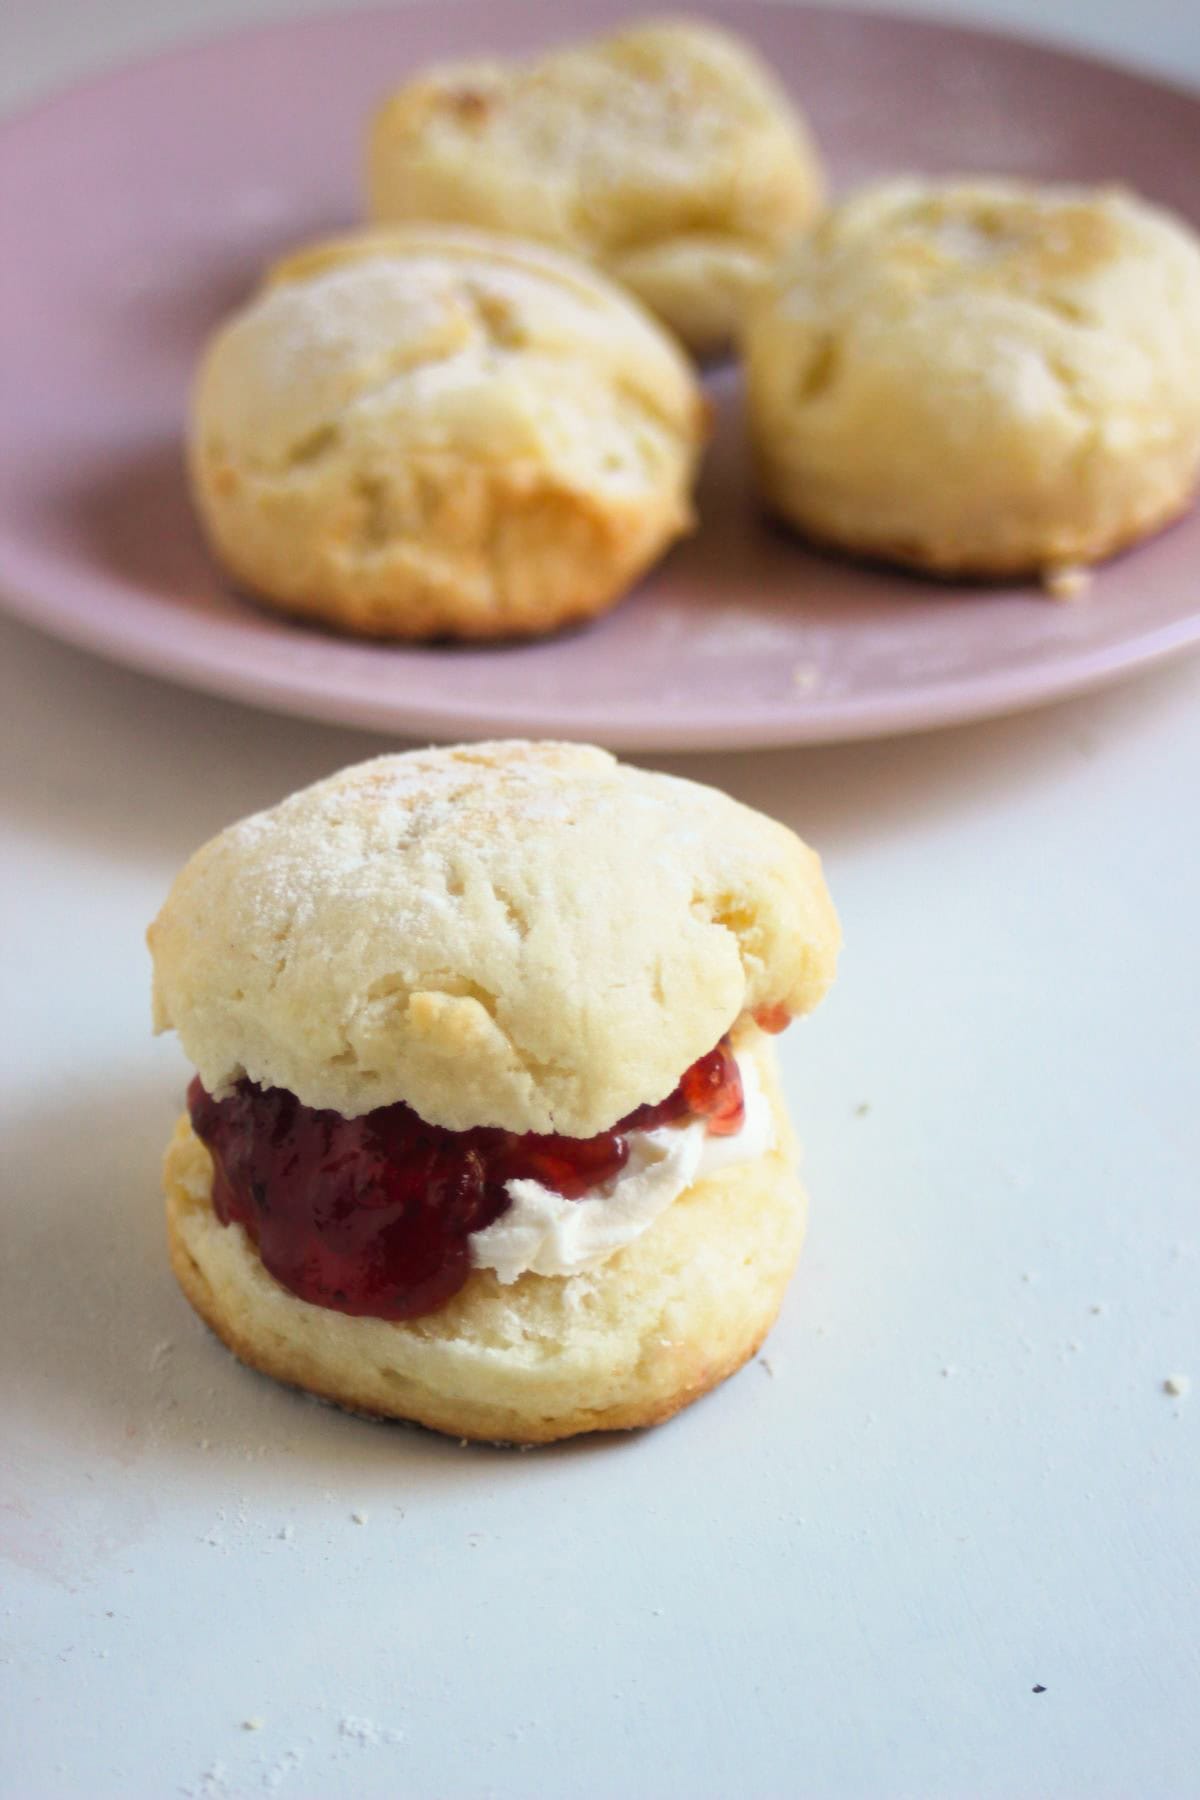
Serve these scones for tea time, as a snack, or alongside brunch. They’re especially good served warm with cream cheese and jam, but if you prefer something savory, try these Gluten-Free Cheese Scones instead.
And the best part? These scones freeze beautifully. Bake them ahead and reheat in the oven when you’re ready to serve. Even better, unbaked dough can be frozen and baked straight from frozen, so you always have freshly baked scones ready when you need them.
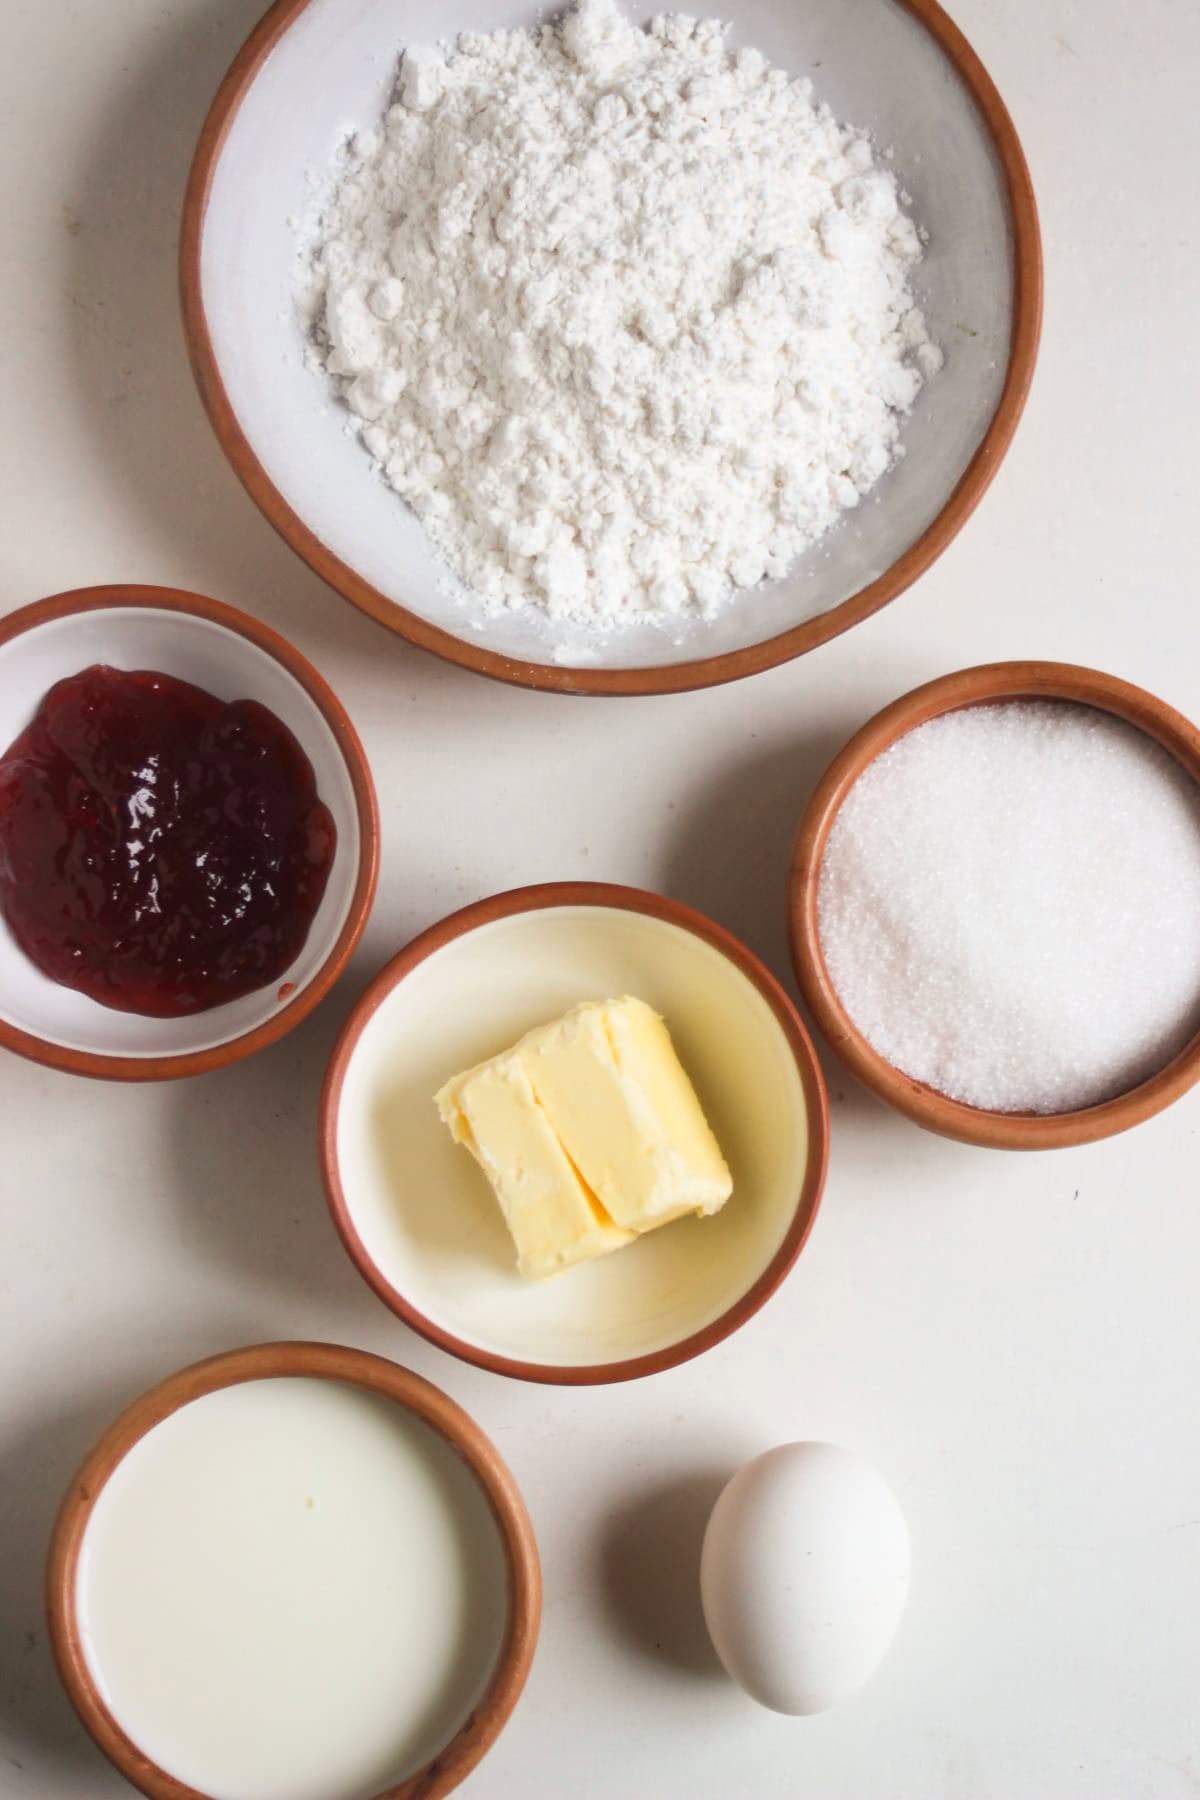
What goes in: ingredient notes
Some NOTES about the main ingredients of this recipe:
- Flour: gluten-free all-purpose flour blend.
- Baking powder: This helps the scones rise and gives them a lighter texture.
- Butter: cooled, diced unsalted butter.
- Milk: whole milk for best flavour and consistency.
- Sugar: adds a subtle sweetness without making the scones overly sweet.
- Egg: room-temperature eggs are better.
How to make Gluten-Free Scones (bakery-style)
Place gluten-free all-purpose flour, sugar, salt, and baking powder in a large bowl. Cut/rub in cold diced butter until you have pea-sized pieces and coarse crumbs.
In another bowl, mix the egg with the milk. Add to the butter mixture and mix, but don’t overmix the dough!
Let rest covered in the refrigerator for at least 1 hour.
Preheat oven to 350°F (180°C). Line a baking sheet with parchment paper or a silicone mat.
Roll out the dough on a lightly floured work surface using gluten-free flour until it is about 2 cm (¾ inch) thick. Cut out the biscuits with a round cutter, then gather and reroll the remaining dough until all the dough has been used.
Place the scones on the baking sheet, brush them with cream, and sprinkle with coarse sugar.
Bake for 18-20 minutes or until golden brown. Let cool before removing.
Store scones in an airtight container at room temperature or in the refrigerator.
Good to know: baking tips
- Using cold butter is easier to incorporate into the flour and helps create a more tender texture.
- Don’t overwork the dough if you want fluffy and tender scones.
- Chill the dough before baking for the best results.
- Brush the scones with cream and sprinkle with coarse sugar.
- Be sure your oven is fully preheated if you want your scones to rise.
Make it your own: serving options
Here are some ideas to serve your tea-time treats. Always best warm.
- Plain: Serve the biscuits plain, and leave them as they are; they are delicious too.
- Cream cheese: Spread your scones with cream cheese.
- Jam: Classic for tea time; choose your best flavour.
- Blueberry compote: Here is a link to a great blueberry compote recipe.
- Cream: Whipped cream is a delicious topping.
- Savoury fillings: cheese and jam. Salmon.
You might wonder: FAQ
Can I make gluten-free scones ahead of time? Yes. Shape the scones, place them on a lined baking sheet, and freeze until solid. Transfer them to an airtight container or freezer bag and bake directly from frozen, adding a few extra minutes to the baking time.
How do I keep scones from becoming dry? Don’t overmix the dough and avoid overbaking. Remove the scones as soon as the tops and edges are lightly golden.
Can I freeze scones? Yes, they freeze wonderfully. You can freeze unbaked or baked scones. Unbaked scones can go directly from the freezer to the oven.
For more gluten-free scone recipes

Best Gluten-Free Scones Recipe
Ingredients
- 3 cups gluten-free all-purpose flour
- ½ cup granulated sugar
- 5 teaspoons baking powder
- Pinch of salt
- ¾ cup unsalted butter, cooled
- 1 cup milk
- 1 egg, beaten
- Cream, to brush
- Powdered sugar, to sprinkle the scones
Instructions
- In a large bowl, place gluten-free all-purpose flour, sugar, salt, and baking powder. Cut/rub in cold diced butter until you have pea-sized pieces and coarse crumbs.
- In another bowl, mix the egg with the milk. Add to the butter mixture and mix.
- Let rest covered in the refrigerator for at least 1 hour.
- Preheat oven to 350°F (180°C). Line a baking sheet with parchment paper or a silicone mat.
- Roll out the dough on a lightly floured work surface using gluten-free flour until it is about 2 cm (¾ inch) thick. Cut out the biscuits with a round cutter, then gather and reroll the remaining dough until all the dough has been used.
- Place the scones on the baking sheet, brush them with cream, and sprinkle with coarse sugar.
- Bake for 18-20 minutes or until golden brown. Let cool before removing.
Notes
New recipes, straight to your inbox
Gluten-free baking that actually works. No spam, unsubscribe anytime.